Install on iOS SDK
To use it, users need to do the following:
Vietbando SDK is a map library for the iOS operating system. This tutorial will help you to install Vietbando SDK with the IDE, Xcode and storyboards to load the map, change the map style, and set the marker and location of the user on it. We will show you how to do it in Objective-C.
Note! We are still actively developing iOS SDK and will be updating this guide and new tutorials when improves its great features.
SDK library
See details here.
Install Xcode
Open Xcode and go to File ‣ New ‣ Project to create a new project. Go to the iOS Application and select the template Single View Application.
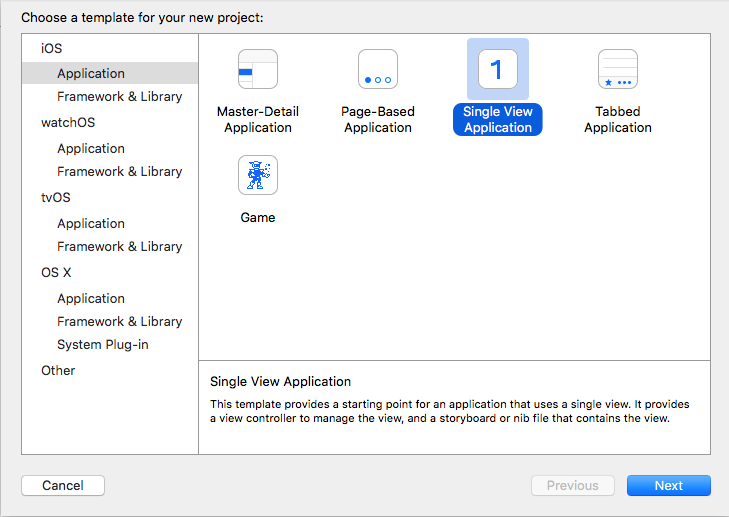
Name it Examples. Select Objective-C. This guide will help you to develop applications on the iPhone. If you intend to support both iPhone and iPad, you can choose Universal in the equipment section.
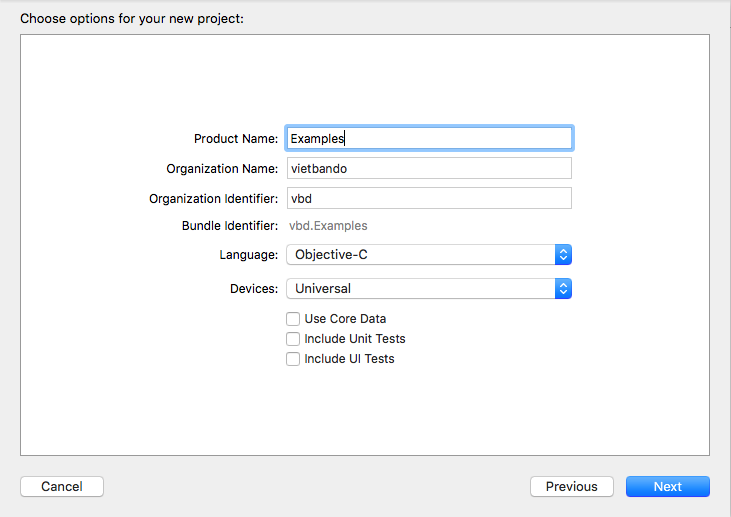
Select Next to create a folder for Xcode storing all your files in it.
Setup authentication keys
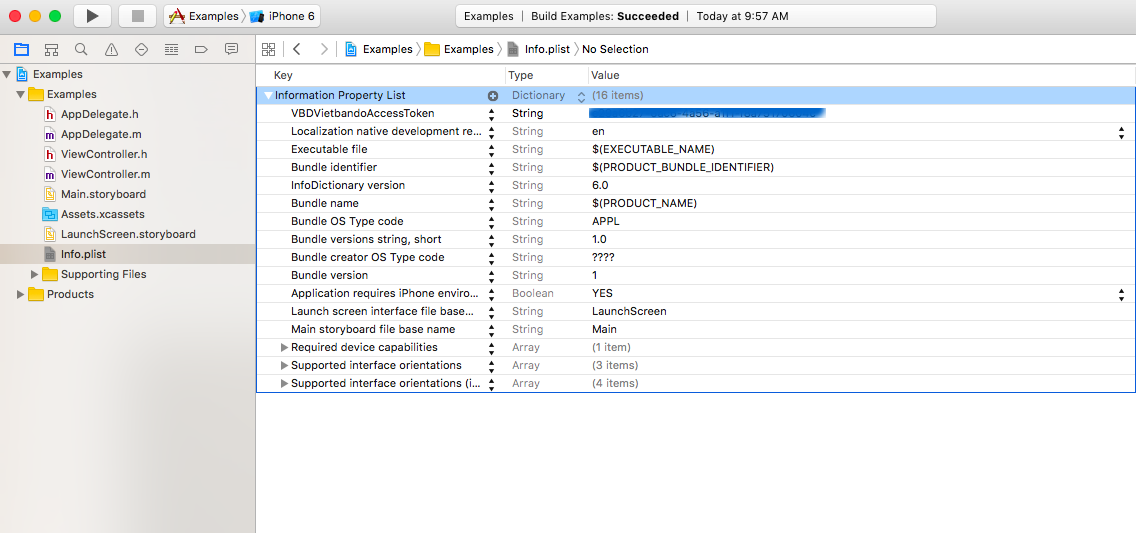
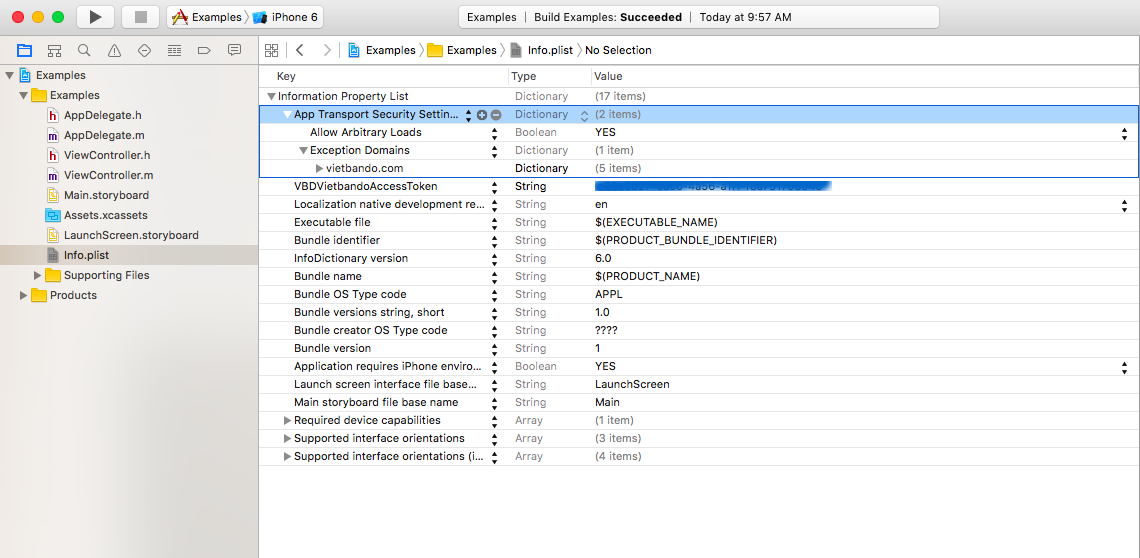
To display map by vietbando in your application, you need to set your authentication key inside Info.plist file:
- In
 Project navigator section (on the left), find
 Info.plistfile. - Select “Information Property List” and go to Editor ‣ Add Item.
- At the new line, assign Key with
VBDVietbandoAccessTokenand assign a value to the authentication key.
You only have to set the authentication key once in this file. Key authentication ensures that only your applications are using your account.
See detailed instructions for registering an authentication key here.
Download and install Vietbando iOS SDK
Now that you've created an Xcode project, let's install Vietbando iOS SDK. Download the latest version, extract the downloaded files, then drag and drop vietbando.framework to Embedded Binaries of project:
With vietbando framework, you can access all classes and methods available in our SDK.
Add a map using storyboards
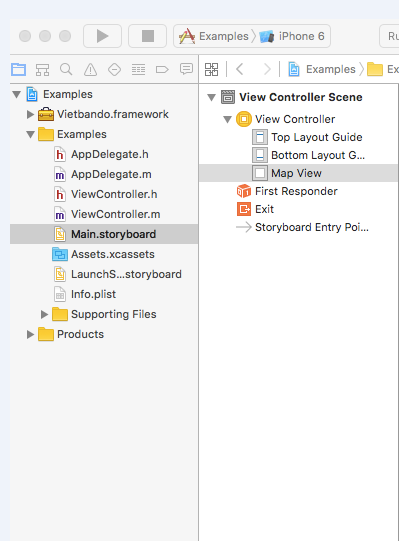
In this tutorial, you will build the application interface using Interface Builder Script (Alternatively, you can create interfaces completely by code). Select view mode from your view controller, then in the right tab, change class to VBDMapView. This will add base maps to the view controller, so you can do things like add custom styles, set the center of the map, and add captions.

Now that you've added a map to your app, test it. Select an iPhone model and select ![]() Build and Run.
Build and Run.
The simulator will open, start up, and then start the application you just created:

Customize the map
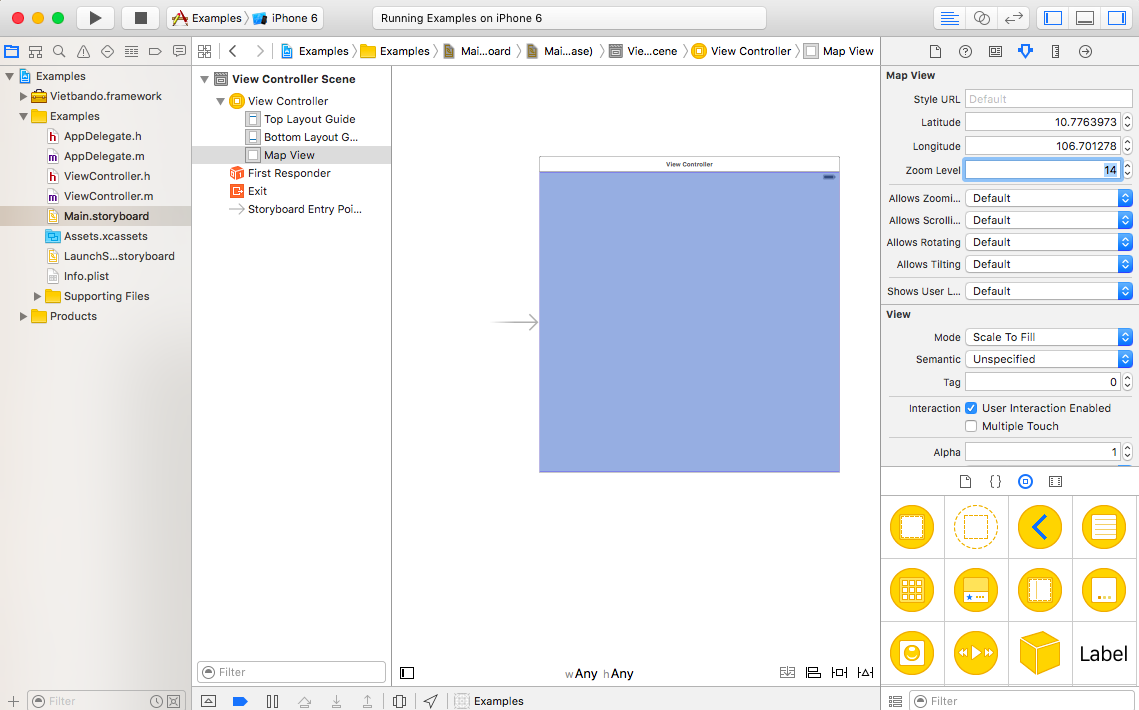
To change the coordinates and zoom level, select Map View in Interface Builder, and open ![]() Attributes inspector tab in the right sidebar.
Attributes inspector tab in the right sidebar.
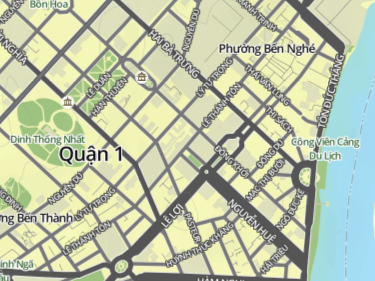
Assign Latitude to 10.7763973, Longitude to 106.701278, and Zoom Level to 14.
Run the application in the Simulator to view map in District 1, Ho Chi Minh City:

Change map style
The default style you are seeing is Vector Tile Default, you can select the map types here.
Ex: Type vietbando://styles/vietbando/ra_vbdterrian to Style URL.
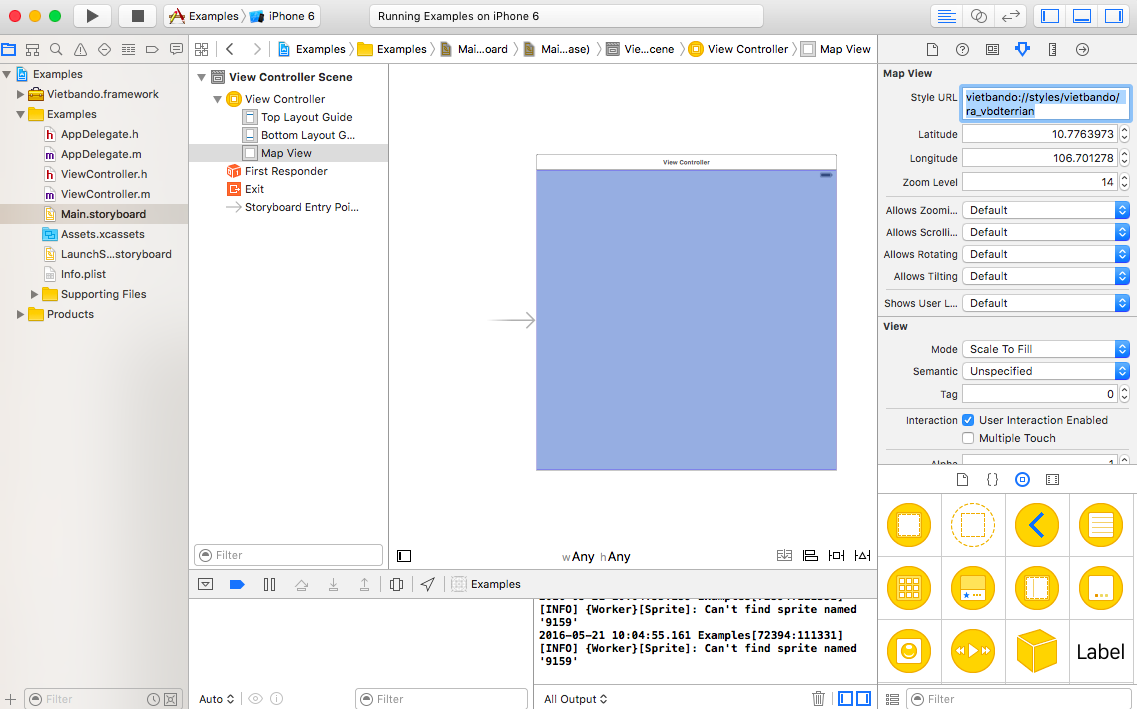
Run application again in the Simulator to see Terrain map:
Add an annotation with code
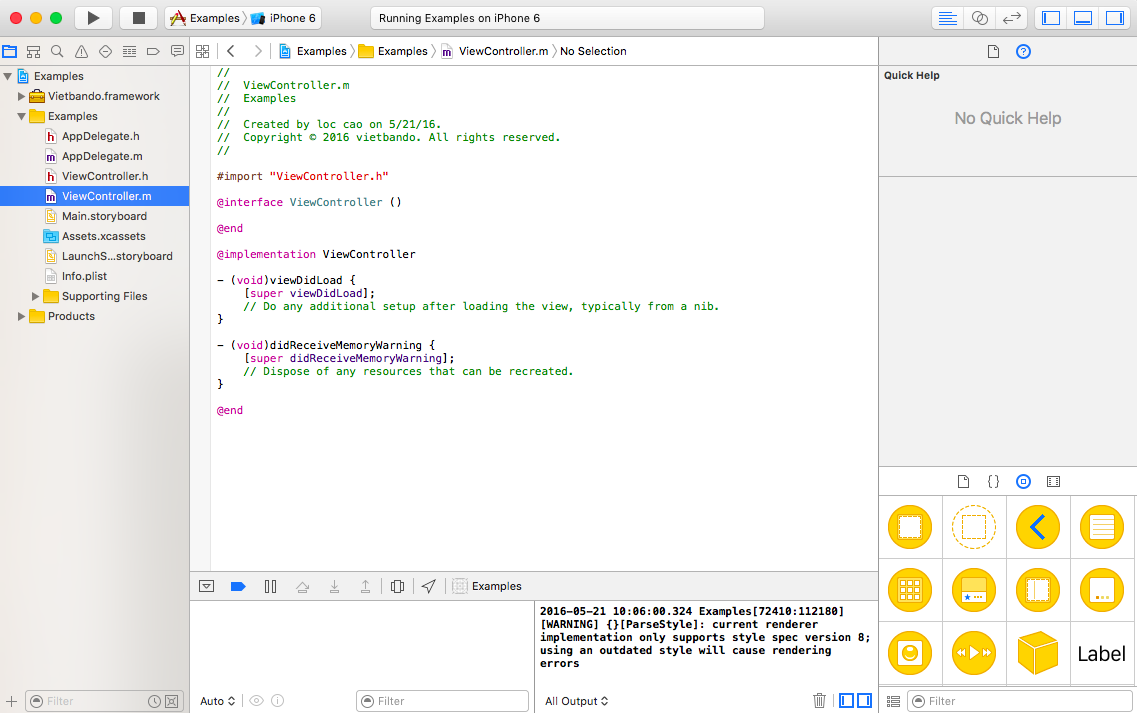
With storyboard, you can further add controls and screens to your application. Add more functions to the map. To do that, we need to add some code. Switch from Interface Builder to View Controller. In ![]() Project navigator, open
Project navigator, open ViewController.m to view code.
Set the map view’s delegate in Interface Builder
But first, to configure the different annotation properties, you will need to set map properties. In storyboard, Hold down the Ctrl key while dragging the mouse from the map interface. Select delegate.
Import Vietbando framework in code
Import Vietbando Framework at the beginning of the control code:
#import "ViewController.h"
@import Vietbando;
Define the annotation and add it to map
For all connections, let's add a comment - one by one. First, create an VBDPointAnnotation object at the end of viewDidLoad method and assign it to the local variable:
- (void)viewDidLoad {
    [super viewDidLoad];

    VBDPointAnnotation *point = [[VBDPointAnnotation alloc] init];
}
Next, give the comment a coordinates::
- (void)viewDidLoad {
    [super viewDidLoad];

    VBDPointAnnotation *point = [[VBDPointAnnotation alloc] init];
    point.coordinate = CLLocationCoordinate2DMake(10.7763973, 106.701278);
}
Captions with title and subtitle attributes provide textual content for annotations, which we'll get in a moment:
- (void)viewDidLoad {
    [super viewDidLoad];

    VBDPointAnnotation *point = [[VBDPointAnnotation alloc] init];
    point.coordinate = CLLocationCoordinate2DMake(10.7763973, 106.701278);
    point.title = @"Hello world!";
    point.subtitle = @"Welcome to my marker.";
}
Finally, add a caption to map:
- (void)viewDidLoad {
    [super viewDidLoad];

    VBDPointAnnotation *point = [[VBDPointAnnotation alloc] init];
    point.coordinate = CLLocationCoordinate2DMake(10.7763973, 106.701278);
    point.title = @"Hello world!";
    point.subtitle = @"Welcome to my marker.";

    [self.mapView addAnnotation:point];
}
The result will be:
